How to Curl Hair: Easy Steps for Lasting Waves
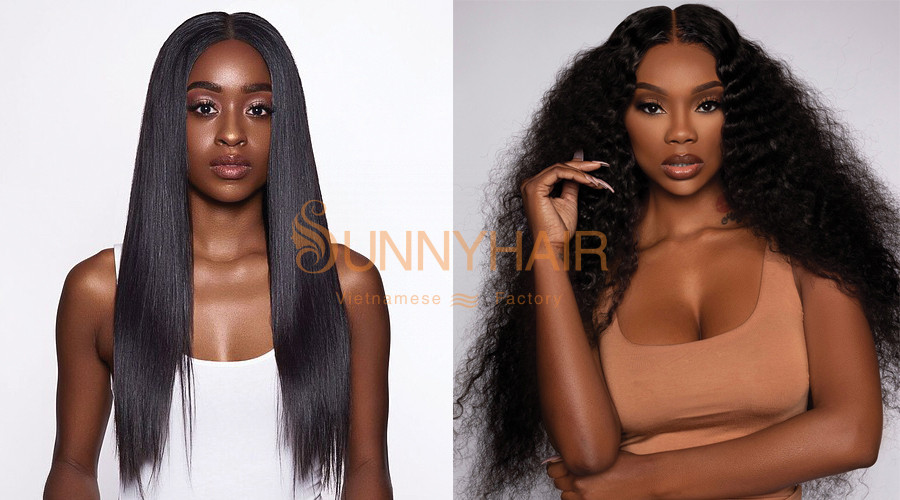
Curling your hair can transform your look, adding volume and style in just a few minutes. If you want to know how to curl hair properly, this guide is perfect for you. We’ll show easy steps to create beautiful, long-lasting waves without damaging your hair.
Popular Curl Styles You Should Know
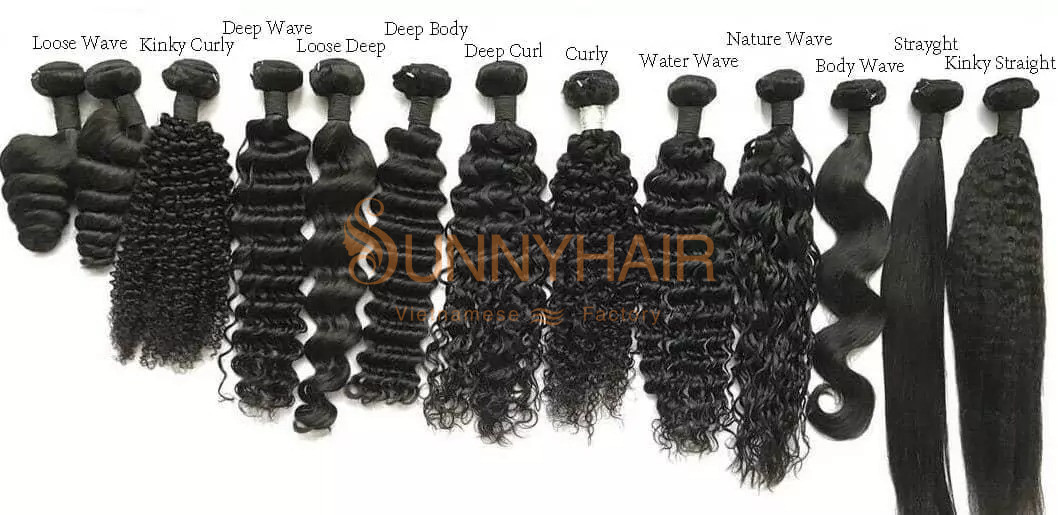
Before learning how to curl hair, it helps to understand the different curl patterns commonly seen in the hair extension and wig market. Each style gives a unique look and requires different styling techniques.
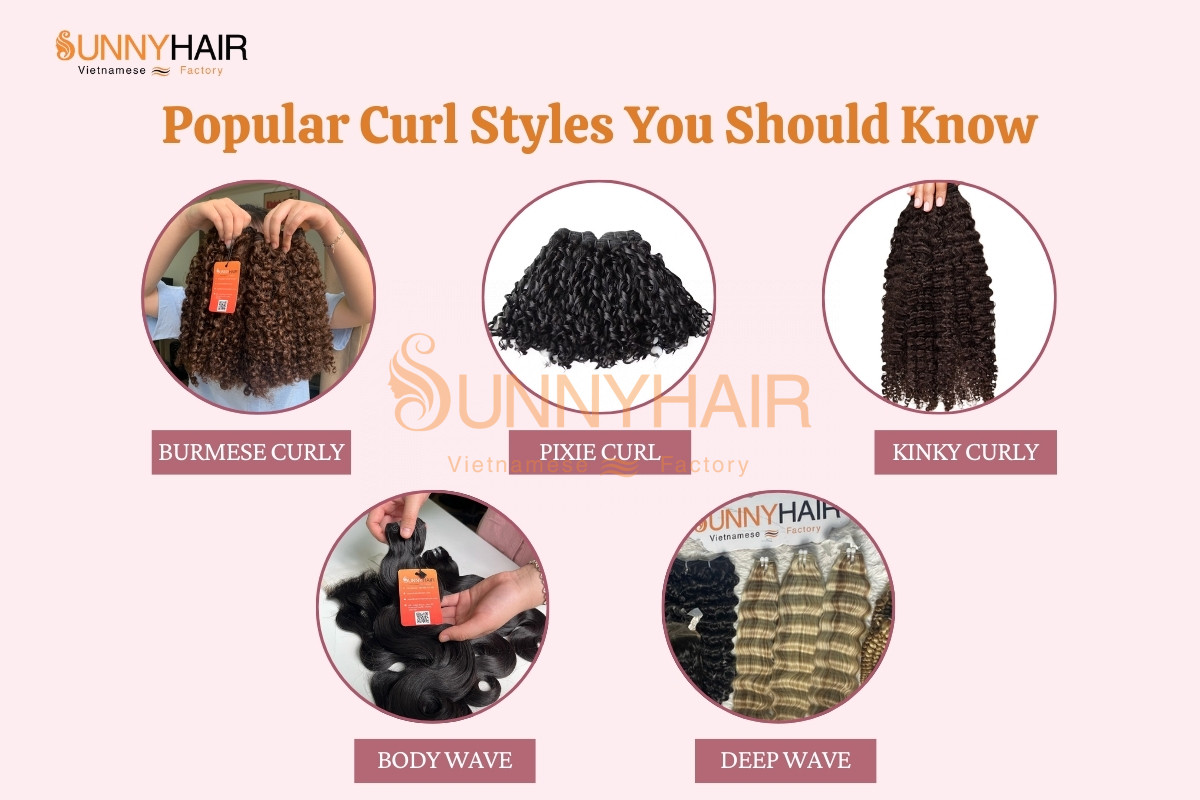
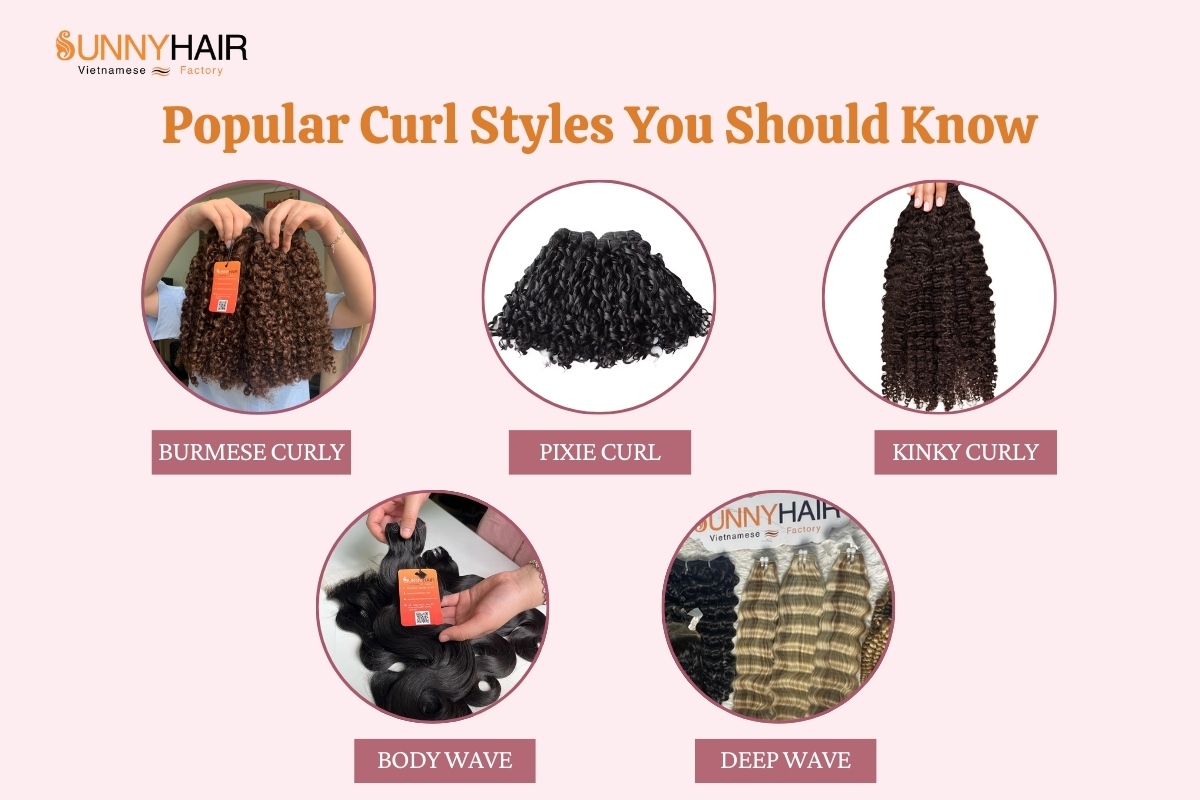
1. Burmese Curl
Burmese curl is known for its tight, defined spirals and natural density. The curls are springy, voluminous, and blend beautifully with textured hair. This pattern is ideal for clients who want a full, lively look without appearing too uniform.
2. Pixie Curl
Pixie curls are soft, fine, and delicately coiled. They create a natural, airy curl pattern that works well for shorter hairstyles, bob wigs, or anyone who prefers subtle movement instead of bold definition.
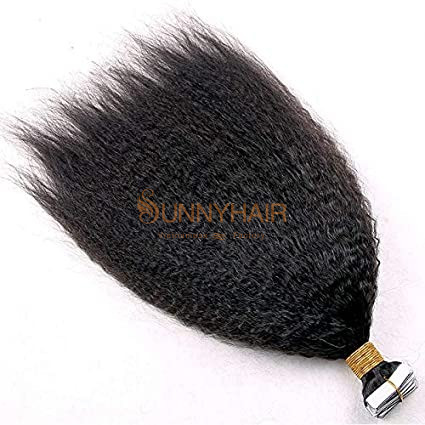
3. Kinky Curly
Kinky curls offer the tightest, most coiled pattern. This style gives maximum volume and texture and mimics natural Type 4C hair. It requires more moisture and gentle handling, but the result is a stunning, fluffy finish.
Some curly hair types you can try
4. Body Wave
A classic pattern featuring soft S-shaped waves. This style is perfect for effortless glamour and can be brushed out for a fuller, bouncier look.
5. Deep Wave
Deep wave curls are tighter than body waves but looser than kinky curls. They create defined ripples that add dimension and fullness.
These patterns are especially popular in raw hair and virgin hair bundles, and understanding them helps you choose the best technique later.
Other blogs: 24 inch hair: Your Guide to Achieving Perfect Long Locks
How to Curl Hair: 2 Easy Methods to Curl Your Hair
If you’re new to curling or simply want reliable curls every day, these two beginner-friendly techniques will help you create soft waves or tight spirals without overcomplicating the process.
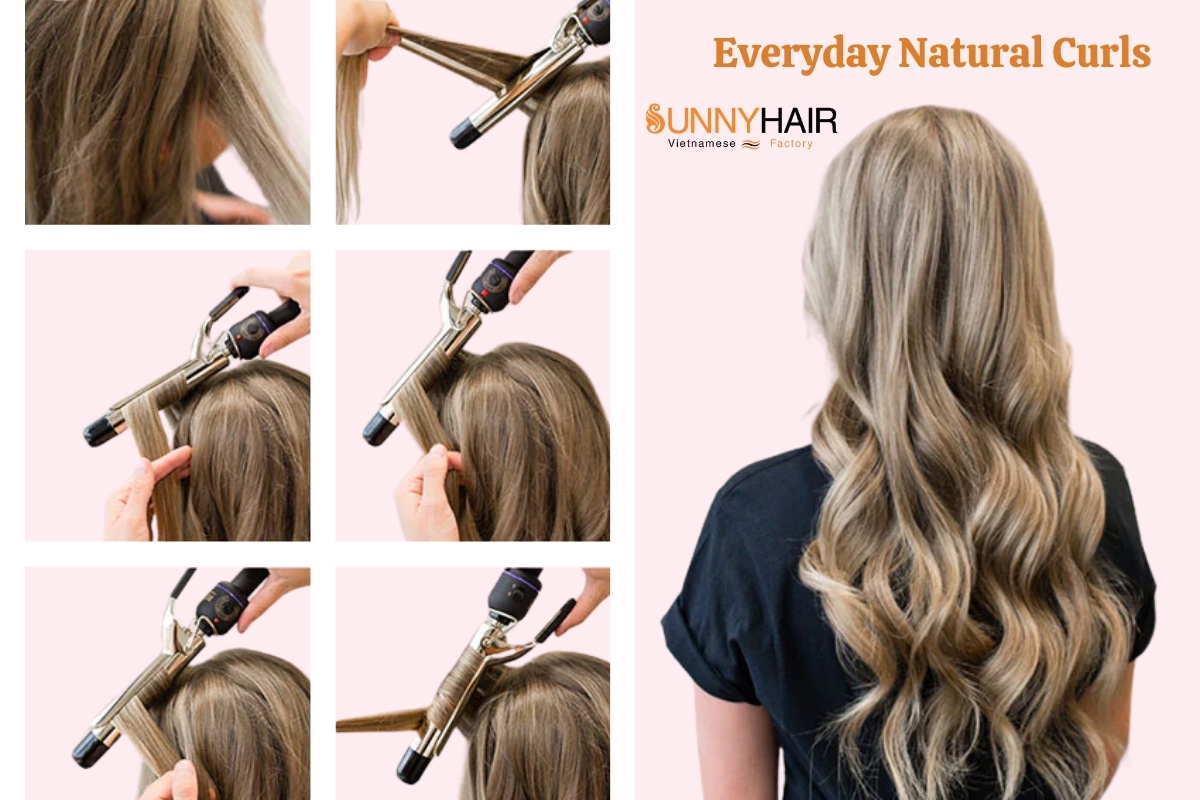
Curl Method 1: Everyday Natural Curls
Once you master it, you can build on the same foundation to try more advanced styles later.
Step 1: Ensure your hair is completely dry and free of tangles.
Always start with completely dry hair—curling damp strands can cause breakage. Brush through gently to remove knots so the curls form smoothly.
Step 2: Warm up your tools.
Choose the curling iron you want to use and let it heat up. Use a moderate temperature to avoid burning your hair—around 400°F for fine hair and up to 425°F for thick or coarse hair.
Step 3: Protect and section your hair.
Start from the bottom layers. Take a small section about an inch wide and mist it with heat protectant. This helps prevent dryness and keeps curls shiny.
Step 4: Curl the hair.
Position the curling iron upright with the tip angled downward. Wrap the section of hair around the barrel, wait a few seconds, then release it carefully. Allow the curl to cool in place so it sets properly. Keep going until every section of your hair has been curled.
Step 5: Soften and blend
Once you’ve finished, gently run your fingers or a wide-tooth comb through the curls. This breaks them up slightly and gives a more effortless, natural finish.
Guide to curl your hair everyday
Curl Method 2: Twist-and-Turn for Tighter Spirals
This technique enhances definition and is great when you want bouncy, springy curls.
Step 1: Prep and separate the hair.
Distribute a heat protectant evenly throughout your hair. Part it into manageable sections—just like in Method 1—so you can curl more neatly.
Step 2: Twist each section before curling.
Take a one-inch piece, and lightly mist it with hairspray (if your hair is fragile, spray after curling instead). Twist the strand tightly from root to end.
Wrap the entire twisted section around the curling wand in the same direction you twisted it—either toward or away from your face. Hold for 10–15 seconds to create a defined, spiral-shaped curl. Pin the curl up to cool and hold its shape.
Step 3: Repeat the process all over your head.
Continue twisting and wrapping each section the same way for consistent curls. The tighter the twist, the springier the final result.
Step 4: Release and style
When all curls have cooled, remove the pins. Flip your head forward and gently shake out the curls for extra volume and movement. Finish with a light mist of hairspray to help the spirals last for days.
See more about: Curly hair extensions - Add Natural Bounce & Volume
Step-by-Step Guide: How to Curl Hair Properly
Below is a simple, beginner-friendly process that works whether you're curling natural hair, hair extensions, weaves, or wigs.
Step 1: Prep Your Hair
A strong curl starts long before you pick up the iron—proper prep makes all the difference.
- Start Fresh: Work on hair that’s clean and completely dry. Excess oil prevents curls from forming and staying in place.
- Protect the Strands: Mist on a lightweight heat protectant, especially when styling raw or virgin bundles, to maintain the hair’s quality over time.
- Detangle Well: Gently comb through with a wide-tooth comb or a soft brush to eliminate knots. The smoother the hair, the more uniform your curls will look.
- Create Sections: Split the hair into 4–6 workable parts. This keeps the process organized and ensures each curl is shaped with care rather than rushed.
Step 2: Start Curling
Depending on the method you choose, follow the steps below.
Using a Curling Iron or Wand
- Wrap a 1–1.5 inch section of hair around the barrel.
- Hold for 5–8 seconds (avoid holding too long to reduce heat damage).
- Release the curl gently into your palm and let it cool before dropping.
- Keep going, curling each section one by one until you’ve worked through the entire head.
For loose waves, finger-comb the curls; for tight curls, leave them untouched.
Using Rollers or Flexi Rods
- Take a small section of damp or lightly moisturized hair.
- Wrap it around the roller or rod from ends to roots.
- Secure firmly.
- Let it air-dry completely or sit under a hooded dryer.
- Unwrap gently and separate curls with your fingers.
Heatless Curling
- Lightly spritz the hair with water or curl-activating spray.
- Use braids, Bantu knots, or a robe belt to form curls.
- Allow the hair to dry completely, preferably by leaving it in place overnight.
- Undo gently to reveal soft, natural waves.
Step 3: Set and Hold the Curls
Once you finish curling, it’s time to lock everything in.
- Let the Curls Cool: Never brush out curls while they’re hot—cooling sets the shape.
- Use Lightweight Spray: Apply a flexible-hold hairspray so the curls stay bouncy, not stiff.
- Avoid Touching Too Much: The more you touch your curls, the faster they fall.
Tips to Make Waves Last Longer
Even the most flawless curls can lose their shape without proper technique. These pro-approved tips will help your waves stay defined throughout the day—and even into the next.
Some tips to keep your hair curl
- Start with clean, product-free hair: Hair that’s weighed down by excess oil, conditioner, or serum won’t hold a curl. Begin with fresh, lightweight strands for the best results.
- Choose the right barrel size: A larger barrel creates softer, looser waves, while a smaller one delivers tighter, more structured curls. Choose the barrel size that best suits the style you want to achieve.
- Use the pin-curl technique: After curling each section, pin it in place while it cools. This simple step locks the shape in and greatly boosts curl longevity.
- Don’t skip the heat protectant: Heat protectant doesn’t just prevent damage—it also helps curls stay intact by smoothing the hair and creating a more even surface.
- Work in small sections: Curling smaller sections ensures even heat distribution, giving you curls that last longer and look more polished.
- Finish with the right products: A light-hold spray keeps curls bouncy without stiffness, while an anti-humidity mist minimizes frizz. At night, wrap your hair with a silk scarf or sleep in a silk bonnet to preserve the shape.
- Avoid heavy oils before curling: Save oils for after you’re done styling. Applying them beforehand weighs the hair down and causes curls to drop faster.
Read more:
- Top 10 Hair Suppliers in India for Premium Quality
- Top 10 Vietnam Hair Factories for Wholesale Prices
- 1B Hair Color
- Hair color guide
- 20 Inch Hair
Conclusion
Now that you know how to curl hair with these simple techniques, you can create gorgeous waves anytime you want. Remember to protect your hair with heat-friendly products and practice a few times to perfect your style. With a little patience, curling your hair can become a quick and fun part of your beauty routine.
For more tips, tutorials, and high-quality hair extensions, visit Sunny Hair Vietnam and elevate your hair game today!